
Tackle cold-wall condensation with a clear DIY plan. If condensation contributes to black mould in your home, this DECOCORK DIY guide takes you from checking the moisture problem to preparing the wall and applying three coats of cork insulating paint. You use familiar decorating tools: a brush, medium-pile roller and tray. Take one stage at a time and let every coat dry fully.
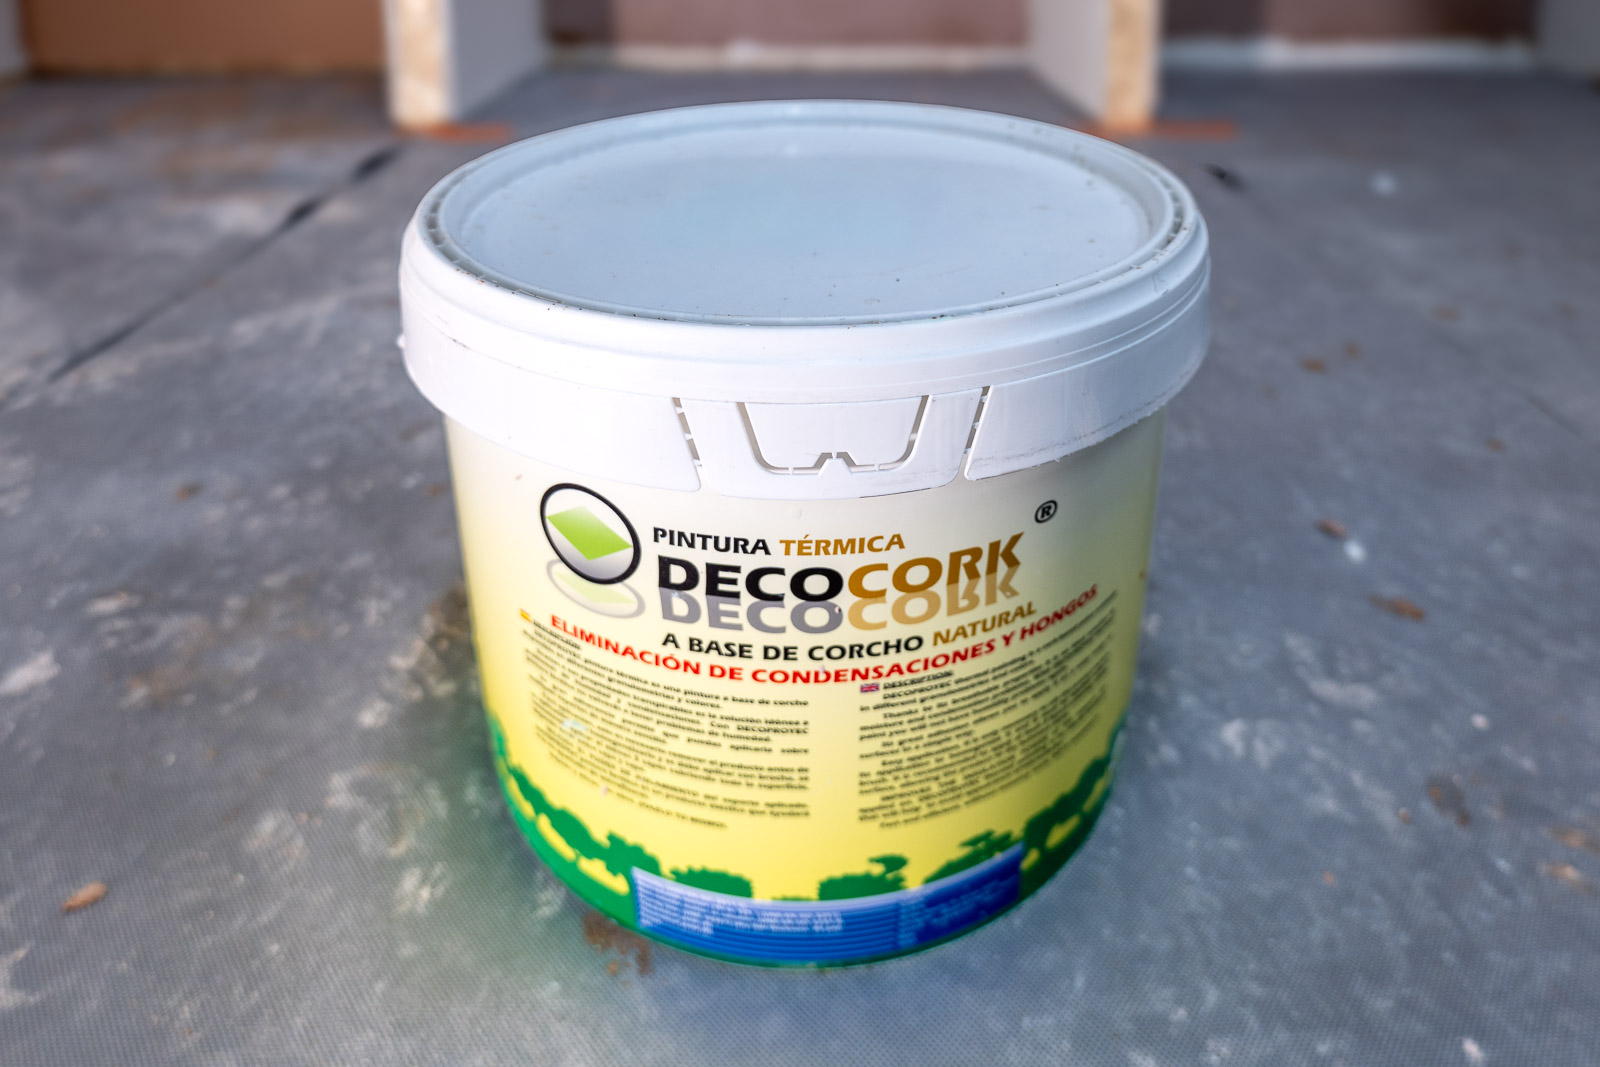
DECOCORK is a water-based interior coating with natural cork granules. It is designed to help improve cold surface comfort and reduce surface condensation as part of a wider moisture-control plan. It does not kill, remove or prevent mould. Clean existing mould before painting and address the cause of damp.
Is this the right DIY project for your wall?
Condensation forms when moist indoor air meets a cold surface. Black spots in cold corners, behind furniture or around windows can be clues, especially during colder months. They are not a diagnosis: leaks and other moisture problems can also cause mould.
DECOCORK is intended for sound, dry internal walls and ceilings, including bedrooms, living rooms, hallways and home offices. It is not for exterior walls, rising damp, penetrating damp or active water ingress. Persistent wet patches, salt deposits, crumbling plaster or stains following rain need investigation before coating.
For a small, suitable decorating project, you can follow the stages below. For extensive mould, recurring damp or an uncertain cause, arrange a professional assessment. If you rent, report damp and mould to your landlord before starting work. Painting must not delay repairs.
DECOCORK DIY guide: your project at a glance
- Check the moisture source and deal with leaks or building defects first.
- Clean existing mould safely, then let the wall dry completely.
- Repair and prepare a sound surface; test a small area.
- Stir the product and apply three even coats, drying fully between them.
- Keep heating and ventilation working, then monitor the result.
Gather your tools before you begin
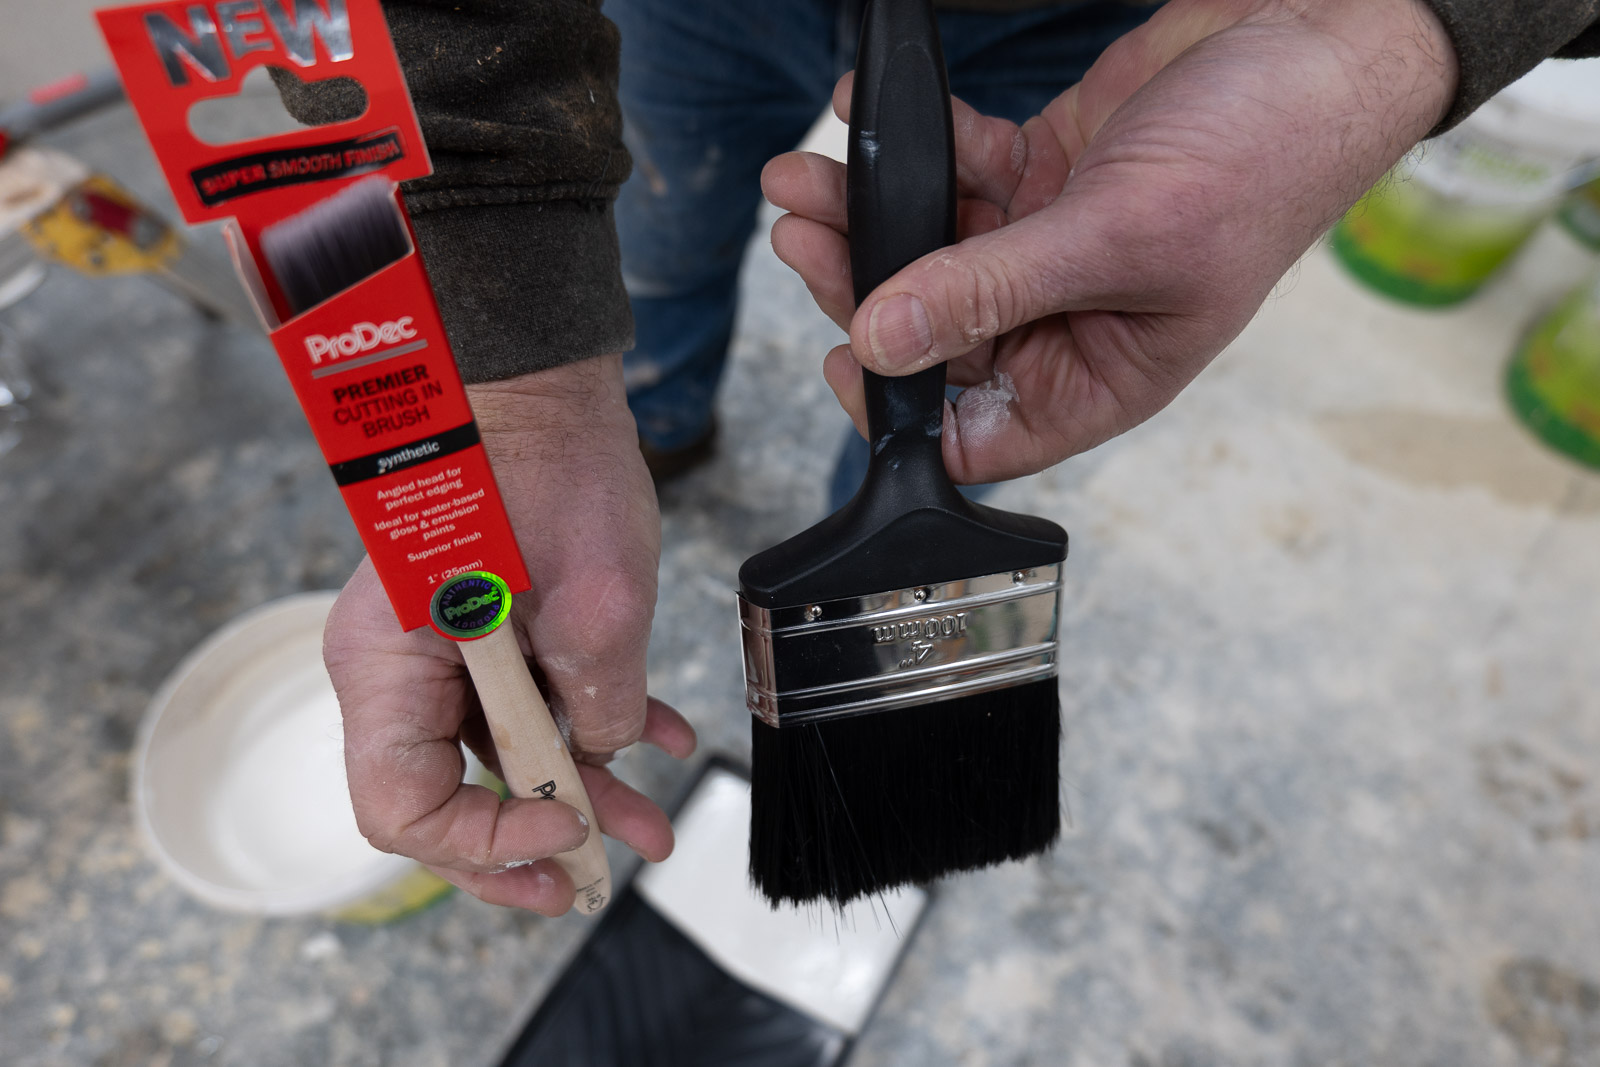
- Medium-pile roller, brush and paint tray.
- Clean mixing paddle or stirrer; do not dilute unless specifically advised.
- Dust sheets, masking tape and suitable filler for sound surfaces.
- Suitable mould cleaner and the protection specified on its label.
- Gloves and splash protection; clean water for immediate tool cleaning.
Measure each wall: width × height gives square metres. Add the areas together and subtract large openings. Check the coverage and pack size on the exact product you buy. The B&Q listing currently describes a 12-litre pack and 9 m² coverage; the manual does not clarify whether that figure covers the complete three-coat build. Confirm with ECOPROCORK before relying on it to order several packs.
Step 1: deal with mould and moisture first
Do not paint over mould. For a very small affected area on a hard surface, follow a suitable mould-cleaner label and use protective gloves, goggles and a mask appropriate to the task. Keep the room ventilated and shut the door to limit spread. Do not dry-brush or vacuum mould. Larger areas should be handled by qualified professionals.
Do not mix cleaning chemicals. Let the cleaned wall dry completely. If it stays damp or mould quickly returns, pause the decorating job and investigate the source. Repairing a leak or improving inadequate ventilation may be the essential first step.
Step 2: prepare a clean, dry, sound wall
Remove wallpaper, loose or flaking finishes, grease and dust from the cleaned surface. Repair cracks and defects, then allow repairs to cure. A chalky, highly porous or friable surface needs a suitable stabilising primer, dried before coating. Ask for advice if the existing coating or primer compatibility is uncertain.
Protect floors and nearby fittings. Try a small area to check adhesion, the roller technique and the lightly textured appearance. Choose a discreet patch and allow it to dry before committing to the whole wall. A trial also builds confidence with the product.
Step 3: stir DECOCORK cork insulating paint thoroughly
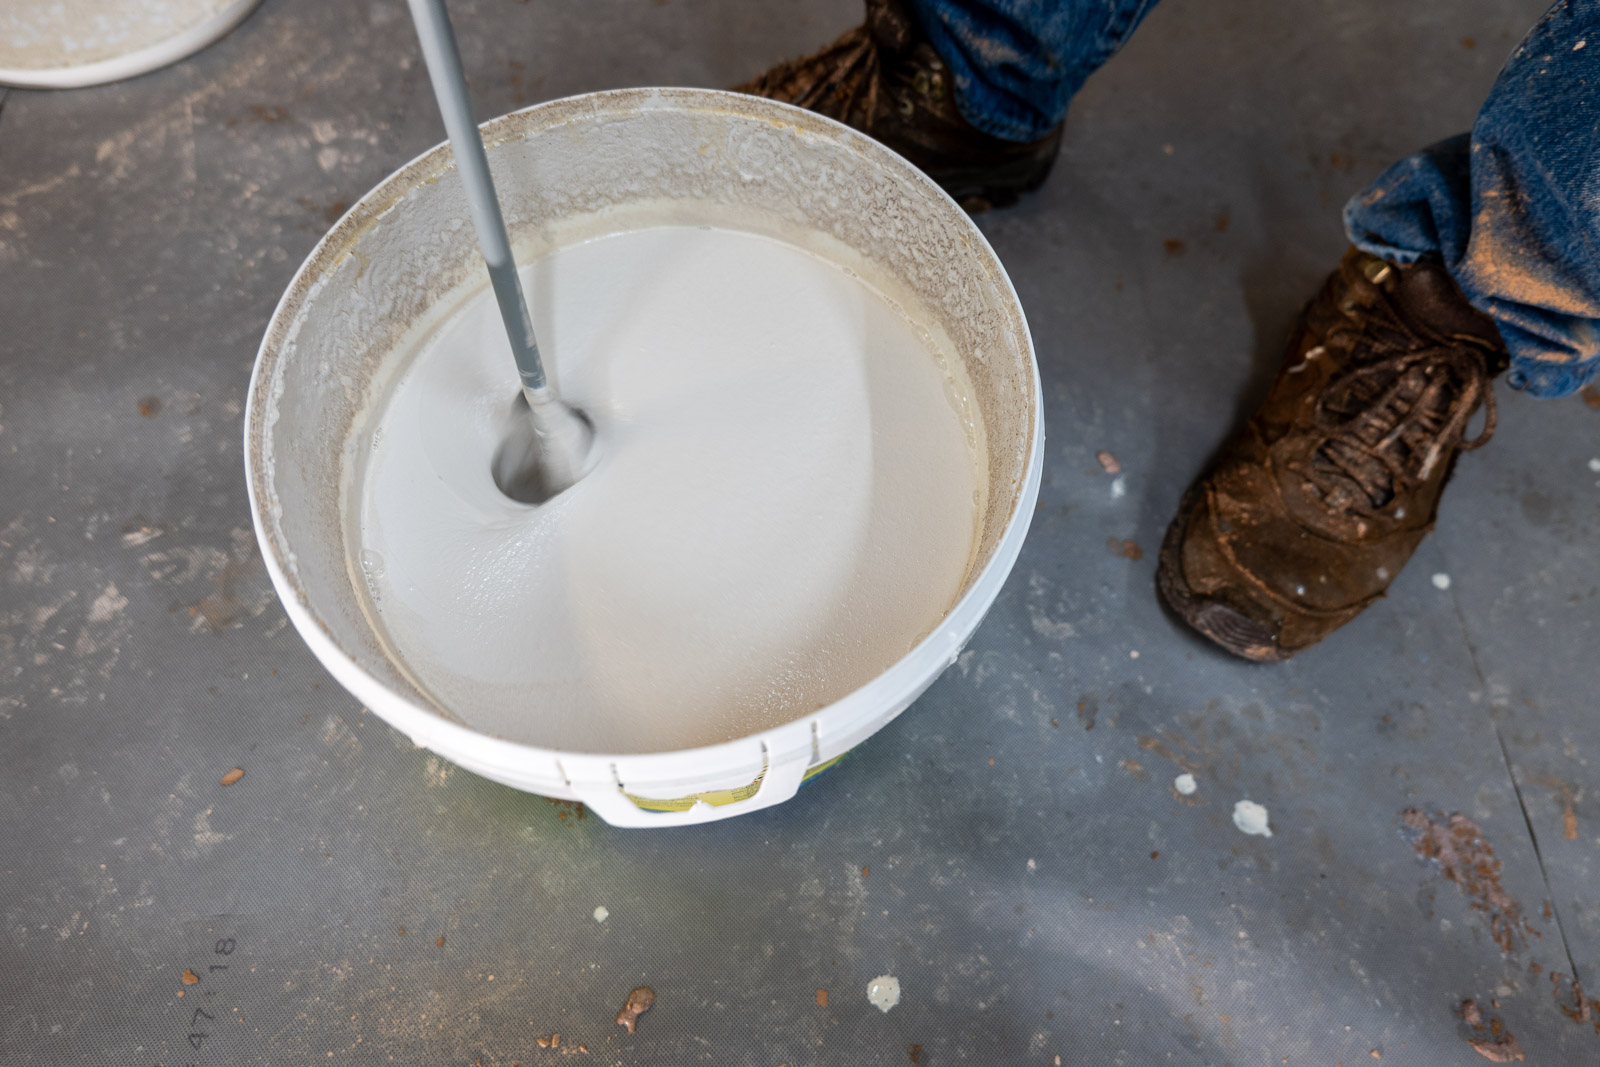
Stir until the cork granules are distributed evenly through the coating. Re-stir occasionally as you work. Do not add water or mix with other products unless ECOPROCORK specifically advises it for your batch.
Step 4: apply three coats of cork insulating paint
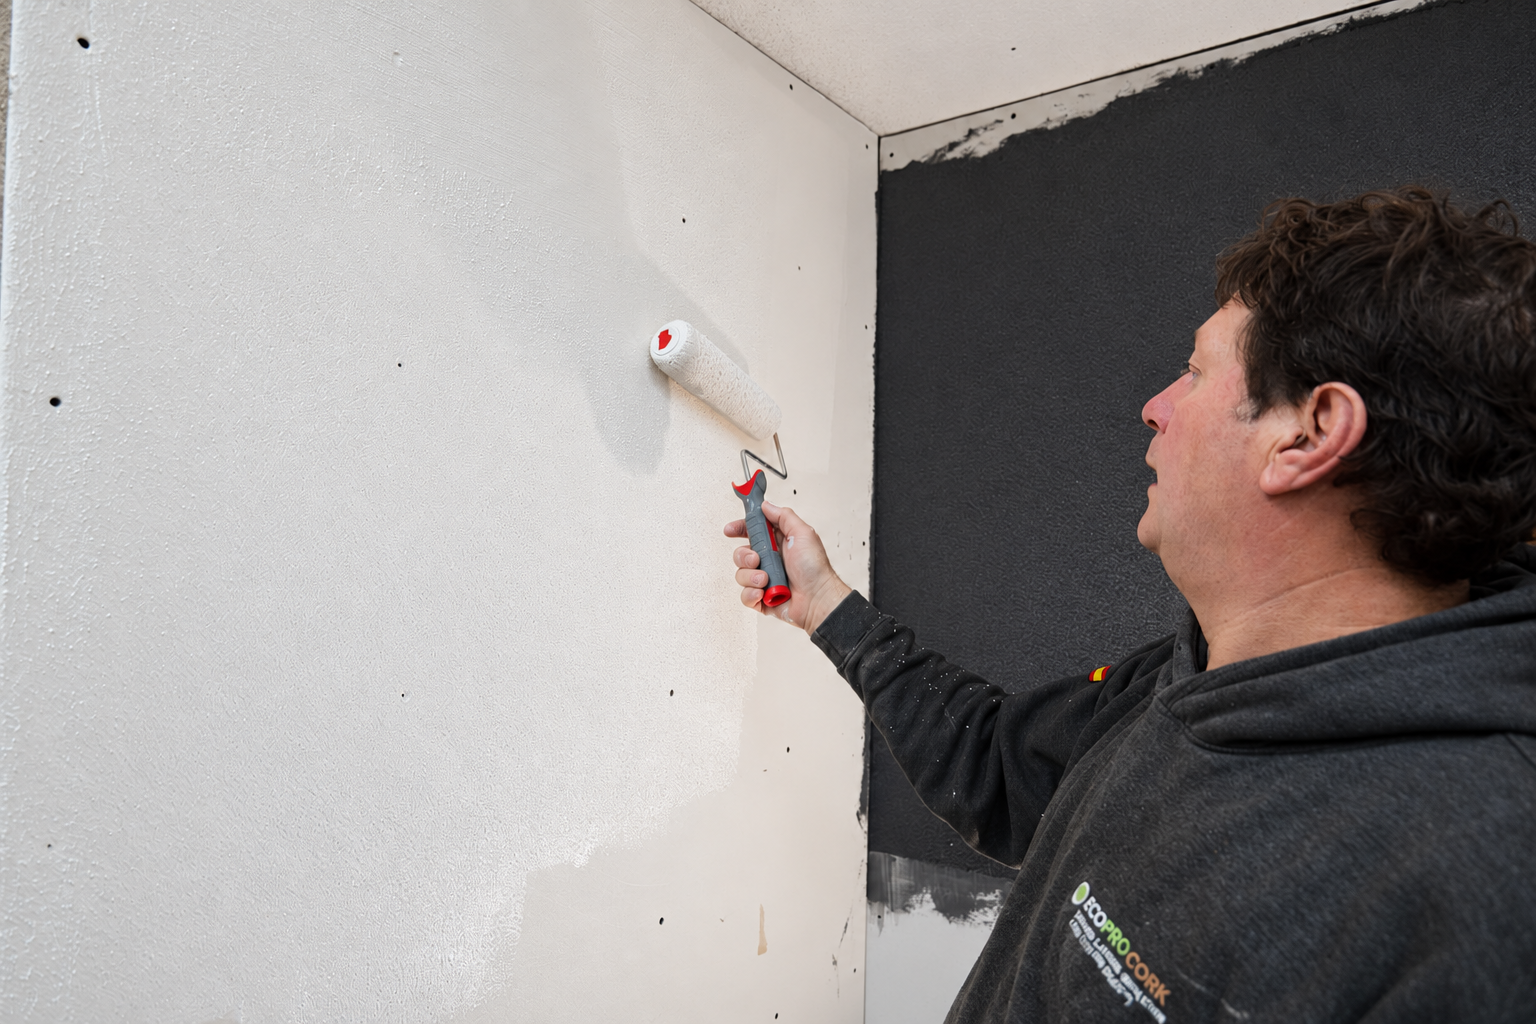
Cut in edges with a brush, then roll an even first coat over the wall. Work steadily and avoid repeatedly rolling a section once it starts to dry. Allow that coat to dry fully before applying the second. Repeat for a third coat to build the cork layer.
Keep air moving during application and drying. The B&Q listing gives indicative recoat times of 1–4 hours, but the manual requires full drying between coats. Temperature, humidity and airflow change the time needed. Do not use the clock alone or trap moisture under the next coat. Allow extra time in a cool or humid room.
Plan the job in stages rather than promising yourself a one-day finish. The manual does not specify an exact film thickness or final cure time. Follow the current container instructions and ask ECOPROCORK before adding a decorative topcoat.
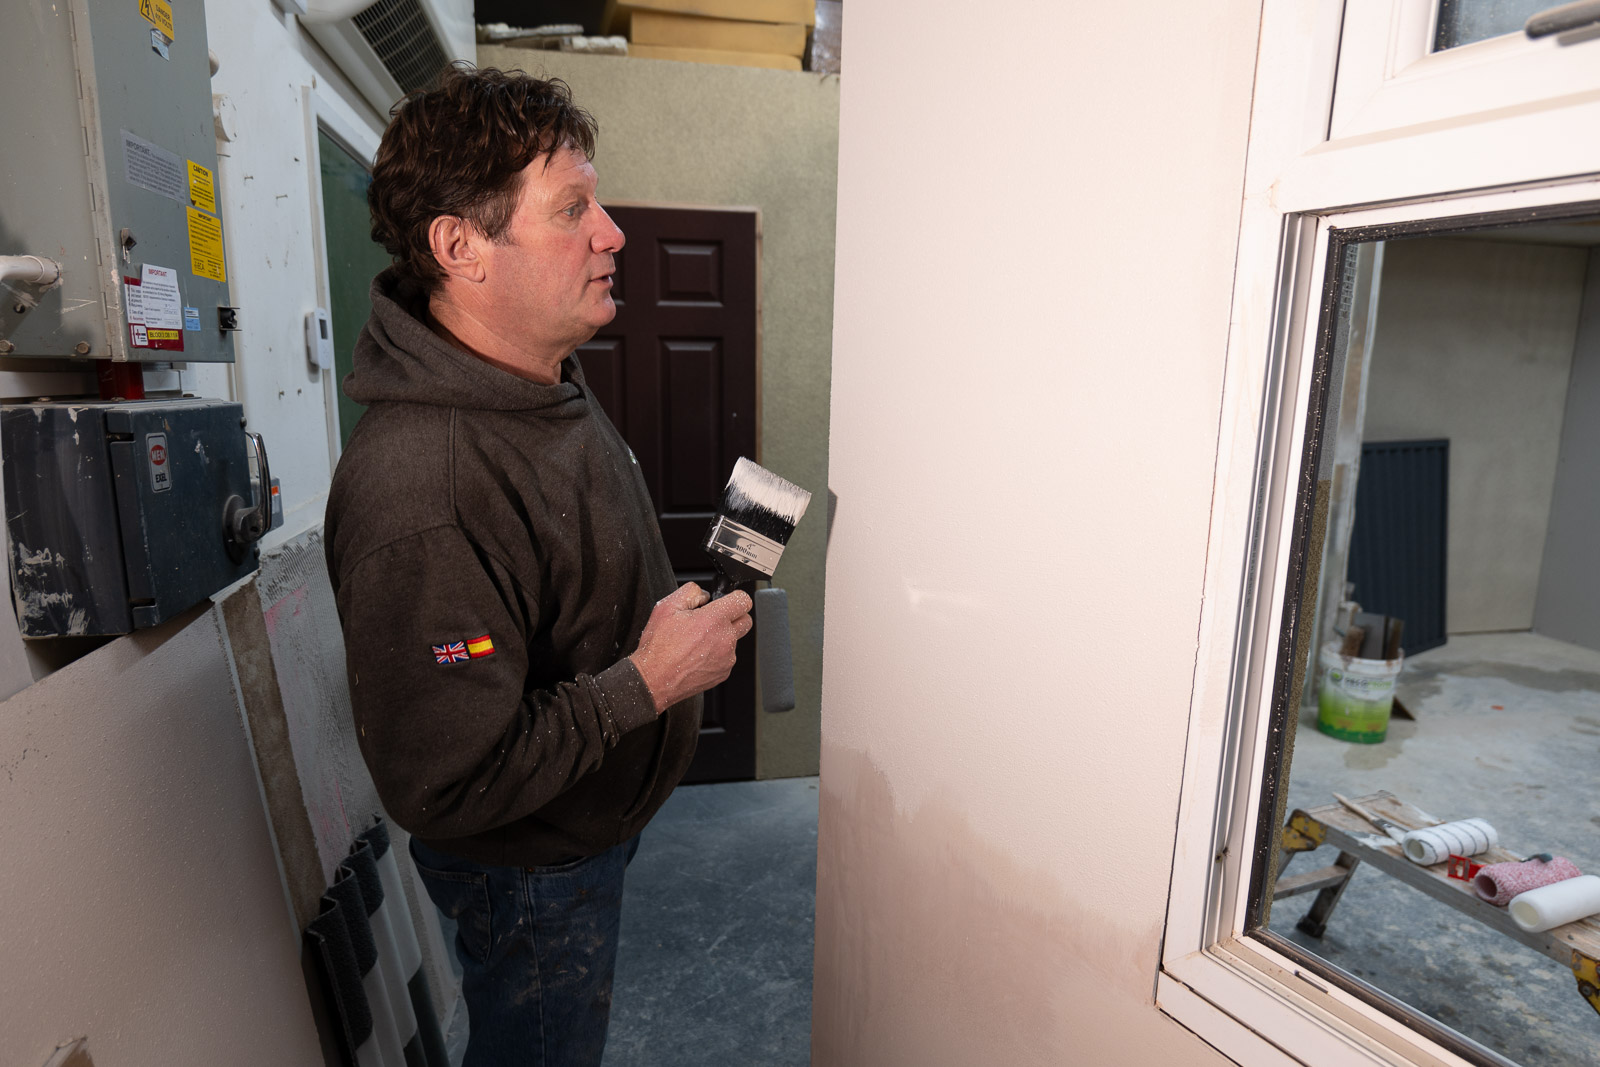
Step 5: finish your DECOCORK DIY project
Expect a natural matt finish with a light cork texture. Some texture variation is normal. Once fully cured, you may over-paint with a compatible breathable interior paint if you want another colour. Avoid non-breathable coatings that could reduce performance.
Clean tools immediately with warm water. Once cured, gently wipe the finished wall with a damp cloth and avoid abrasive cleaners. Store remaining product sealed in a cool, dry place, protected from frost and direct sun. Dispose of waste responsibly; keep it out of drains.
Keep the moisture-control plan working
Use working kitchen and bathroom extraction, keep intended vents clear and maintain appropriate heating. Reduce avoidable indoor moisture and leave space for air to circulate behind furniture against cold walls. These measures support the coating; they do not replace fixing inadequate ventilation or building defects.
Check the wall during colder weather. Note where condensation forms and whether it persists. If damp or mould returns, review the cause with a competent professional rather than repeatedly painting over it.
DECOCORK DIY guide: common questions
Will DECOCORK cure black mould?
No. It supports reduction of cold-wall condensation when correctly applied, but it is not a mould treatment or a guaranteed cure. Remove existing mould and correct moisture problems first.
Do I need plastering skills or Academy training?
This consumer coating is designed for DIY roller or brush application. It is different from the professional DECO 00 FINO / TLICS trowel system, which has separate preparation and application instructions.
Can I use it on a wet wall or outside?
No. Use it on suitable dry internal surfaces. Resolve active damp before coating.
Does it replace wall insulation?
Do not treat a thin coating as a substitute for a designed insulation build-up. This guide gives no whole-wall U-value or promised energy saving. Ask for a suitable system assessment if your project needs measured insulation performance.
What if the coating drags or the finish looks uneven?
Check the stirring, roller loading and surface preparation. Stop overworking partly dried material. Let it dry and seek advice before changing the mix or adding extra layers. Use your trial area to settle on a technique first.
DECOCORK DIY guide: product, instructions and help
View DECOCORK in our shop or view the DECOCORK listing at B&Q. Check the pack size, current price and label for your chosen listing.
Download the official product instruction manual · Read the product guide · Read the safety manual.
Ask ECOPROCORK about your wall. Describe the room, wall finish and moisture pattern. Photos are helpful but optional. For professional trowel application, use the separate DECO 00 FINO instructions.
This guide follows ECOPROCORK’s February 2026 product manual and guide. Mould-cleaning and moisture advice is informed by UK government damp and mould guidance and Bristol Council guidance. Always read the current product and cleaner labels.